How to connect a solar panel to a battery?
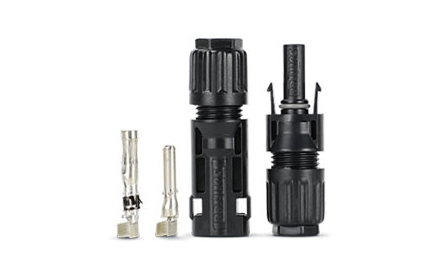
Harnessing solar energy requires a reliable connection between your solar panels and battery to ensure efficient charging and system longevity. While the process involves several components, one often overlooked hero of the system is the solar connector—a small but essential part that ensures efficiency, safety, and durability.

Required Components
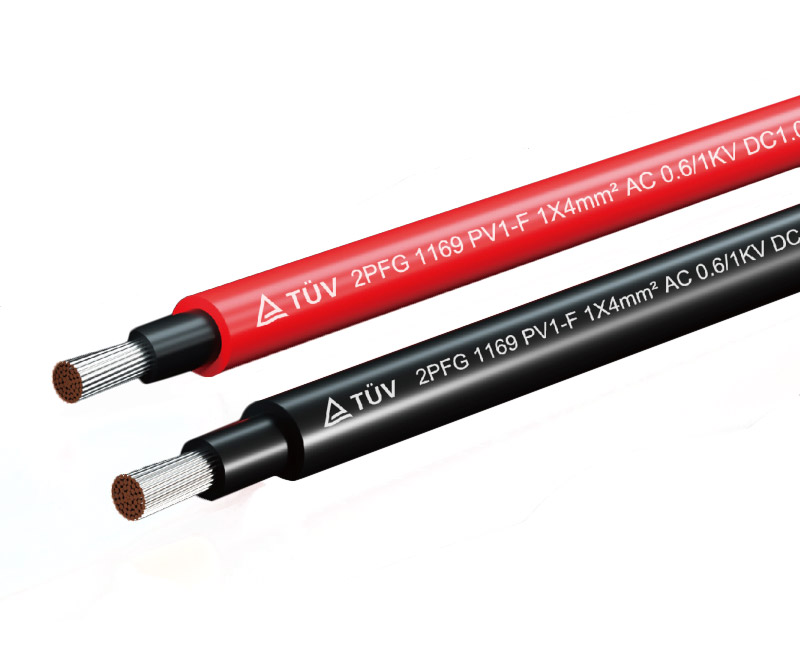
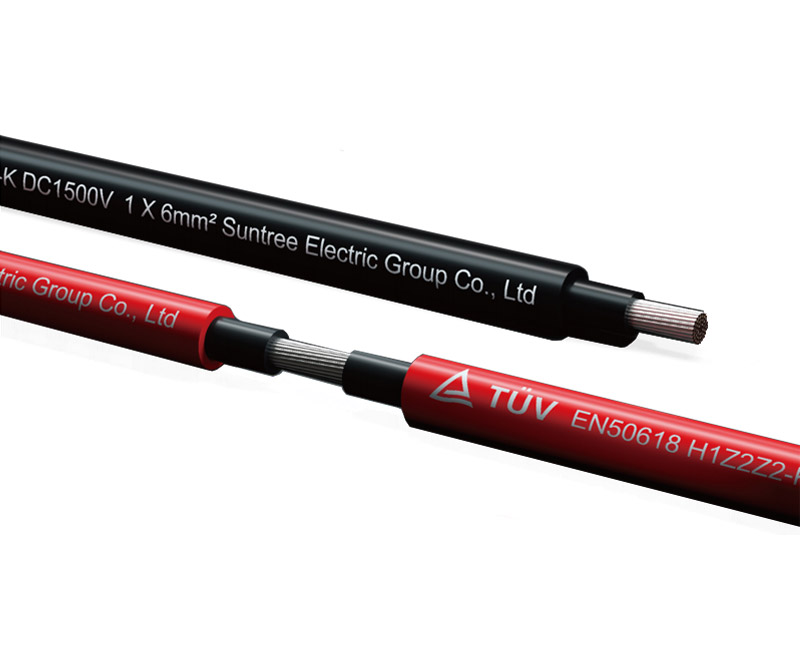
Solar Panel,Deep-Cycle Battery,Charge Controller,Inverter,Solar-Grade Cables and Solar Connector
Wire the Solar Panel to the Charge Controller
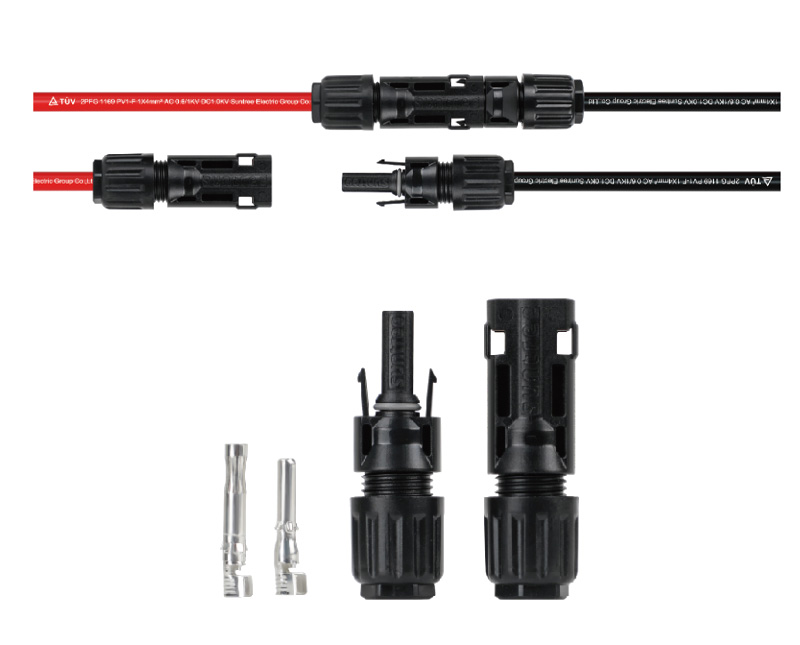
Trim and strip the solar panel’s wires to expose the conductors.Attach solar connectors to the panel’s positive (+) and negative (-) leads.
Connect the Charge Controller to the Battery
Link the charge controller’s terminals to the battery using appropriately sized wires.Always connect the battery first to avoid damaging the controller.
Secure and Test the System
Use a multimeter to verify voltage from the panel to the controller.Check that the charge controller recognizes the battery and begins charging.
The Hidden Benefits of Solar Connectors
Safety: Their insulated, polarized design prevents accidental short circuits. You can’t plug them in backward, reducing installation errors.
Scalability: Need to add more panels? Solar connectors allow easy “daisy-chaining” with extension cables or branch connectors.
Durability: Rated for extreme temperatures and UV resistance, they outlast cheap alternatives, saving you from frequent replacements.
A basic solar battery charging setup simply connects the solar panel's positive wire to the battery's positive terminal and the panel's negative wire to the battery's negative terminal.By following these steps, you ensure a safe and efficient solar charging system. Always refer to manufacturer guidelines for specific components.


